Here’s a detailed guide on how to turn off and on Windows Defender in Windows:
1. Open Windows Defender – Press the Windows key on your keyboard or click on the Start menu. – Type “Windows Defender Firewall” and press Enter to open it.
2. Go to Change notification settings – Click on “Change notification settings” in the left sidebar.
3. Turn Off Real-time Protection – Find the switch under “Private network settings” and toggle it to Off. – In the same way, under “Public network settings”, set the switch to “Off”. – Confirm the change of settings by pressing the “OK” button.
Turn on Windows Defender
To enable Windows Defender, follow steps 1-2 in the same way. In step 3, find the toggles in the sections: “Private network settings” and “Public network settings”, set them to On and confirm by clicking on the “OK” button.
How to Create Backup Point on Windows OS
Here’s a step-by-step guide on how to create a backup point (also known as a System Restore Point) on Windows OS:
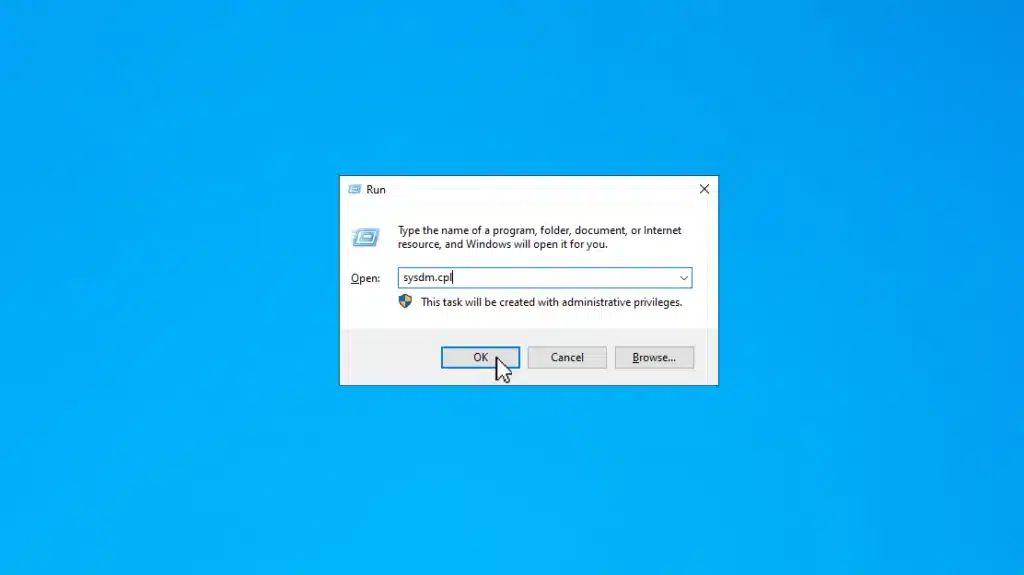
1. Open System Properties – Press the Windows key + R to open the Run dialog. – Type sysdm.cpl and press Enter.
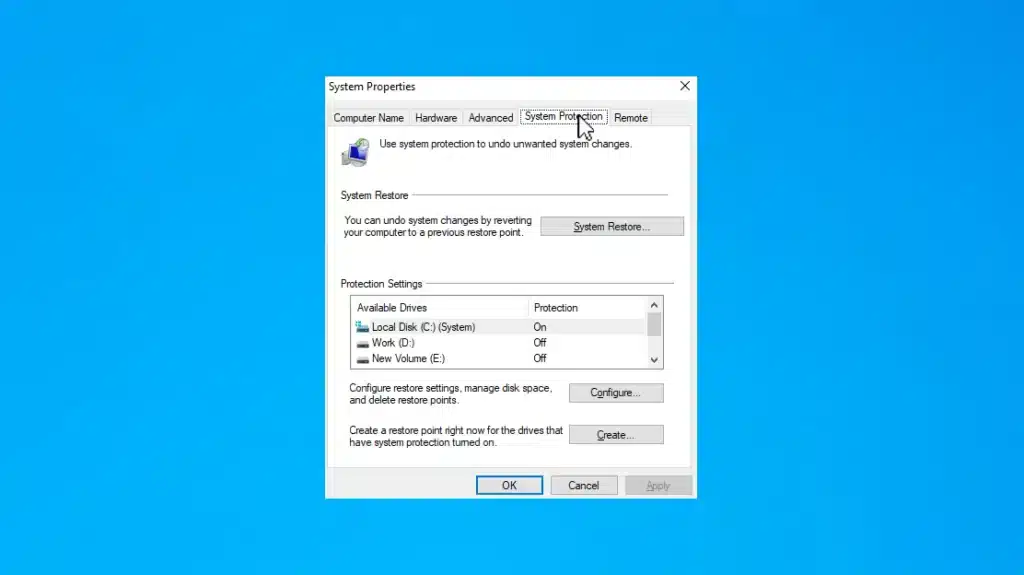
2. Go to System Protection – In the System Properties window, click on the System Protection tab.
3. Select Your Drive – In the System Protection section, you will see a list of available drives. Click on the drive you want to create a restore point for (usually C:) and ensure that protection is turned on.
4. Create Restore Point – Click the Create button. – A small window will appear prompting you to type a description for the restore point. Name it something meaningful (e.g., “Before Major Update”).
5. Finish Creating the Restore Point – After typing the description, click Create again. – Wait for the process to complete; it may take a few moments. You’ll see a confirmation message once it’s done.
Important Notes
– Restore points are useful for rolling back your system to a previous state in case of issues. – It’s a good practice to create restore points before making significant changes to your system, such as installing new software or updates.
How to Update the .NET Framework to the Latest Version
To update the .NET Framework to the latest version, follow these steps:
1. Download the Latest Version – Visit the official .NET website. – Choose the latest version of the .NET Framework. – Download the installer for your operating system.
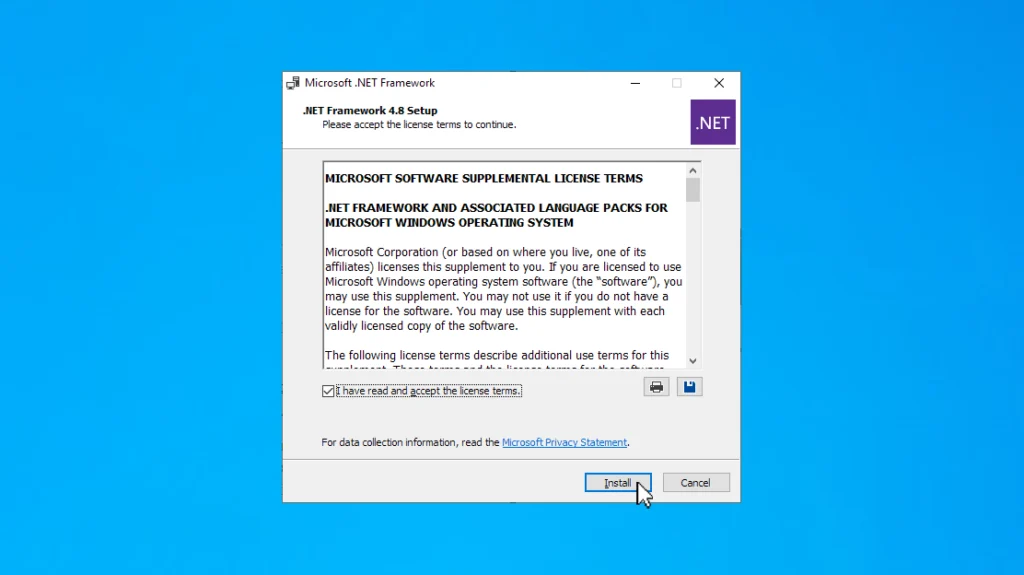
2. Install the Update – Run the downloaded installer. – Follow the on-screen instructions to complete the installation. – Restart your computer if prompted.
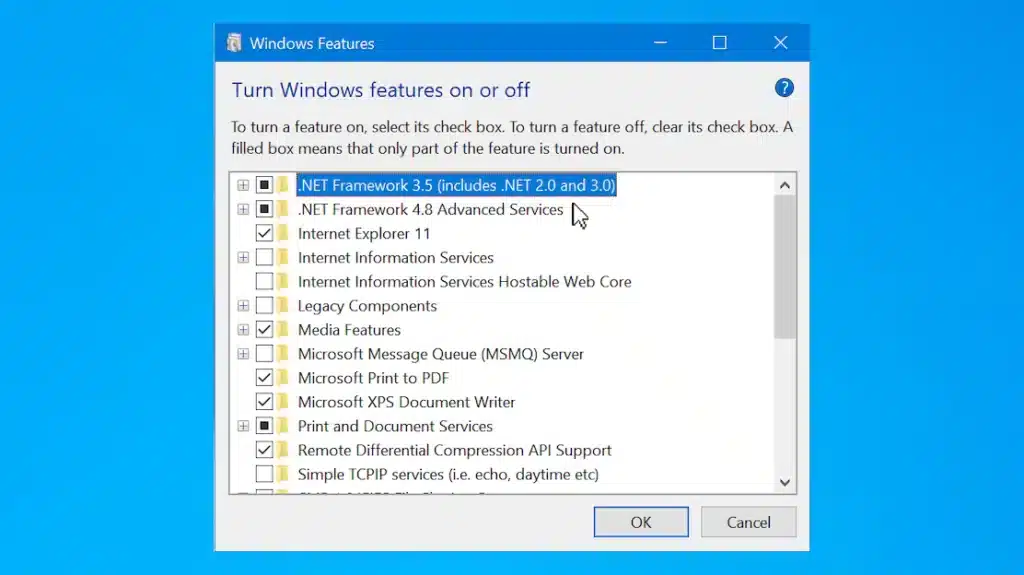
3. Checking the installation – Press the Windows key + R to open the Run dialog. – Type optionalfeatures and press Enter. – Search for .NET Framework in the list and make sure you have the latest version of the product.
Important Notes
Make sure to back up your system or important files before making major updates. Learn!